How to

DIY Wire-set Quartz and Gemstone Necklaces

There is a place I know where you can dig for your own quartz crystals in the mountains. I have found some amazing specimens over the years and I have always wanted to turn them into jewelry. This Christmas, I was making homemade gifts for all of my friends and family and I wanted to finally make the quartz necklaces I had been dreaming of! These necklaces mean so much to me because I found the crystal and made the necklace.

So below is the process of how to wire-wrap a quartz crystal.

Materials:

  • 2mm or 3mm gemstone beads (I bought mine here: Etsy link)

  • .018 in (0.46mm) Bead Stringing Wire

  • 18-Gauge Flat Silver Wire

  • German Style Wire, Round, 24 Gauge (AKA thin wire)

  • Small Crimp Beads

  • Small Jump-Rings

  • Lobster Claw Clasps

  • Round Nose Pliers

  • Wire Cutters

  • Chain Nose Pliers

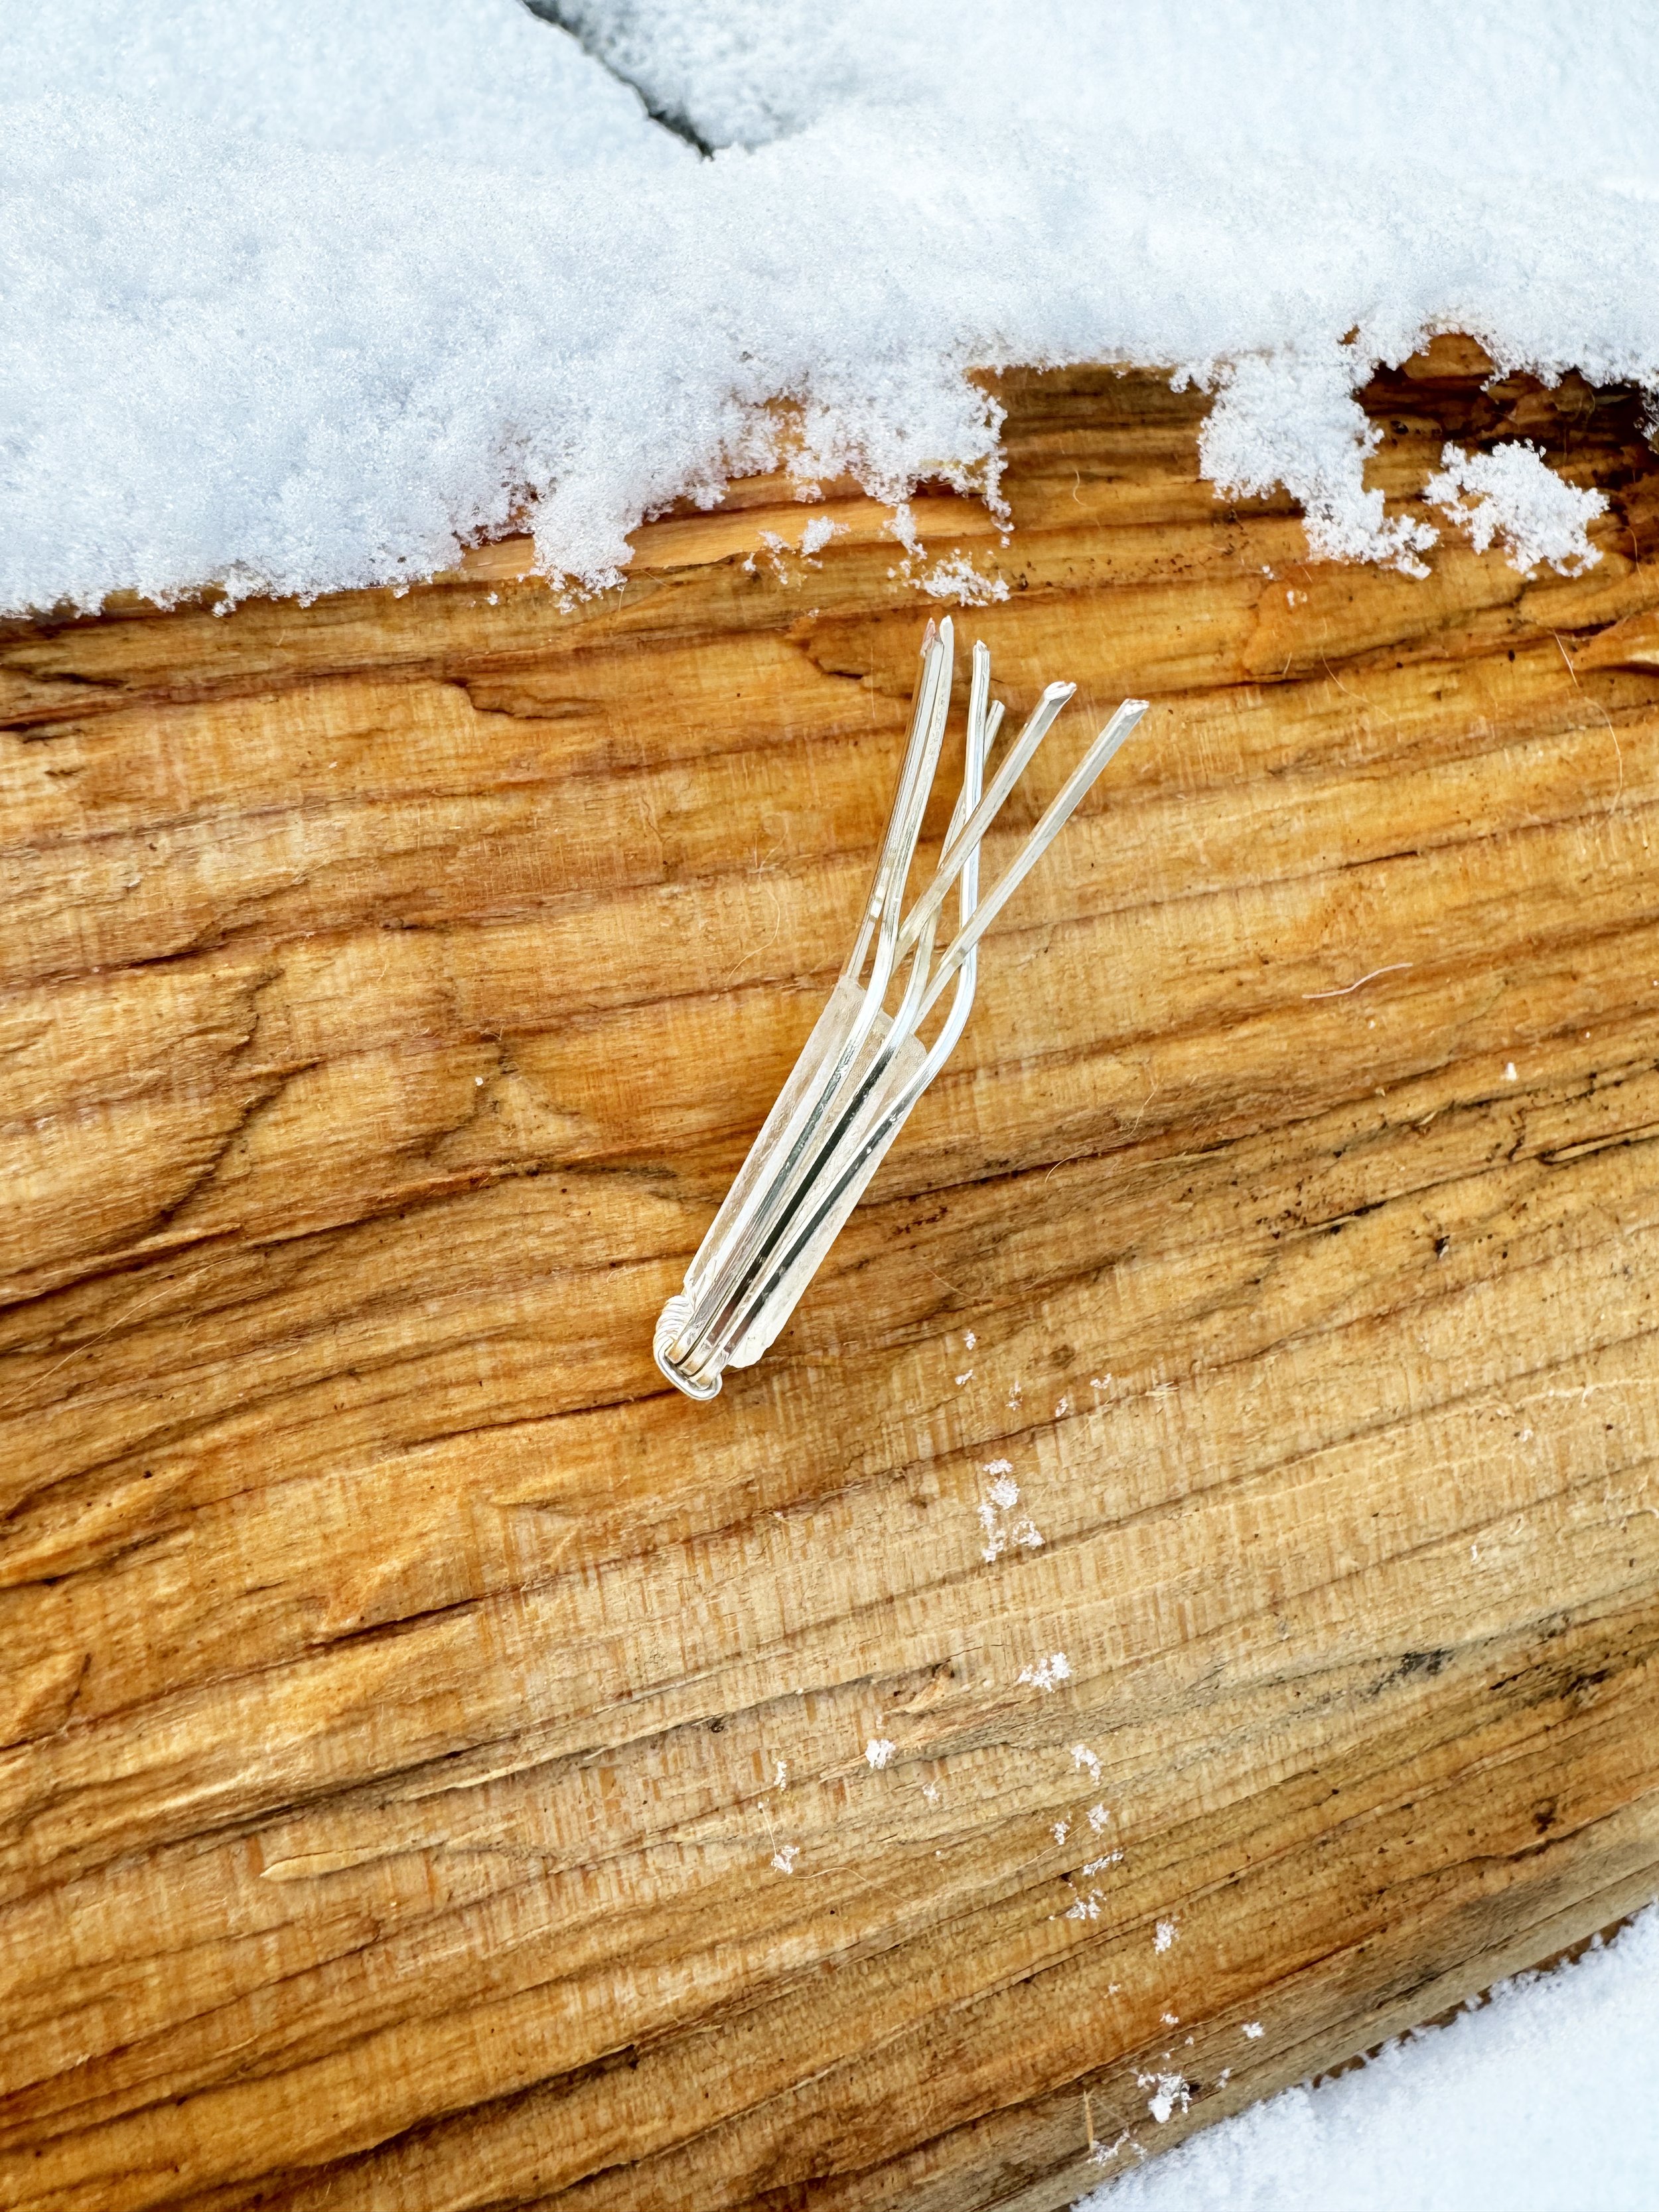
Step 1: Cut 3 pieces of 18-Gauge Flat Silver Wire to the same size, make sure it is longer that three times your crystal. Bind all three wires with German Style Wire, Round, 24 Gauge. Make sure the binding is as wide as your crystal.

Step 2: Bend your wires to a ‘U’ shape using your hands.

Step 3: Place your crystal inside the ‘U’ and alternately bend the wires over the top of the crystal. Make sure the wire is is interlaced at the top like the picture in the right.

Step 4: Fasten the wire together at the top using the German Style Wire, Round, 24 Gauge (AKA thin wire.) Its okay if its not perfect!

Step 5: Make a bend in the center of each exterior wire on both sides of the crystal.

Step 6: Using pliers, crimp together the wires that you pulled out, you may have to pull them out a lot if the crystal is not flat. Then, trim the tops of the wire to all be the same height and using the Round Nose Pliers, curl the top wires.

That is how you wrap a quartz crystal! Make sure the top wires have no gaps and are even.

Step 7: Cut a piece of .018 in (0.46mm) Bead Stringing Wire for one side of the necklace and loop it through one side of the crystal pendant. Secure the string using two crimp beads. Repeat on the other side and then string on the 2mm or 3mm gemstone beads.

Step 8: Fasten the necklace by looping the tails of the string through two crimp beads and a Lobster Claw Clasp, cut off the remains of the string. Repeat on the other side of the necklace but with a jump ring.

You can experiment with all different sorts of beads and you can use this technique on any kind of crystal!

Have fun making jewelry!

Olivia

Experiments with Black Bean Natural Dye

Hello and happy Friday!

I have been experimenting with natural dyes (plant-derived dyes) for a while and a few days ago my friend brought some dry black beans home for dinner- immediately I knew I wanted to try to dye some cotton fabric with the bean water, I mean what a good way to get some dye and tasty beans at the same time! I referenced Fiber Artsy’s article (https://www.fiberartsy.com/natural-dyeing-with-black-beans/) for instructions but I also just improvised.

First I put my fabric in my dyeing pot- about half a yard- and poured a whole kettle of boiling water over the fabric. I then scooped up a cup of water in a paper cup and mixed in 1 oz of alumn until it was fully dissolved. Next, I poured that cup of water into the rest of the water and stirred to combine. Long story short, just mix 7.2 cups (1.7L) of boiling water and 1oz of alumn together and pour it over your fabric. I mordanted my fabric for one day.

Meanwhile, you can also be soaking your beans. Soak one package or 16oz (1 LB) of Good & Gather black beans in a bowl with enough water to cover all the beans and then some. Good & Gather are Target brand black beans and something about them brought out such vivid colors in the dye. I let the beans soak for a day and a half and then strained the beans and kept the remaining bean water in a jar in the fridge while the fabric was mordanting.

Once my fabric was mordanted I just wrung out the mordant water and thoroughly rinsed the fabric with fresh water. I then poured the black bean water over the fabric and some magic started happening- the dye reacted with the alumn and turned a deep dark purple, so pretty!

I let the fabric sit in the dye for two days and then rinsed the fabric with some dish soap and water until the water ran clear.

I hope this gives you some insight as to what I did to get such pretty and saturated colors from black beans! One thing I would note is that the dye is very saturated, and it did not cover my half a yard of fabric, so my fabric was blotchily dyed. I don’t mind that but if you do I would use less fabric. I was also able to make some beautiful grey/blue fabric by adding baking soda to the dye.

I can’t wait to get quilting with this beautiful fabric! I am going to make a mini quilt using only natural dyed fabrics and so far I have a light pink from avocado dye and a light brown from acorn dye. Next up I want to dye some deep oranges with onion skins.

Happy natural dyeing!

-Olivia

Saturated fabric after two days in the dye bath.

Saturated fabric after two days in the dye bath.

Top left: Wet black bean dye with baking soda. Middle right: Wet black bean dye. Bottom left: Dry black bean dye.

Top left: Wet black bean dye with baking soda. Middle right: Wet black bean dye. Bottom left: Dry black bean dye.

Left: Black bean dye dry. Right: Black bean dye and baking soda dry, dyed for one day.

Left: Black bean dye dry. Right: Black bean dye and baking soda dry, dyed for one day.


Synopsis:

Fabric: 1/2 Yard 100% cotton bedsheet

Mordant: 1.7L boiling water + 1oz alumn

  • Mordant for 1 Day

Dye: 1 package (16oz/1 LB) Good & Gather Black Beans

  • Dye for 2 days